
Step 1: Install the Extension
To get started, download and install the SaharaSub extension for Adobe Premiere Pro. Follow the instructions on our installation guide page.
Step 2: Open your project
Open Adobe Premiere Pro and load your video project.
Step 3: Open the SaharaSub Extension
In the Menu Bar click Window -> Extensions -> SaharaSub.
If SaharaSub is not in the Extensions list, make sure you have installed the extension correctly and restart Adobe Premiere Pro.
The SaharaSub Extension should open, you can dock it anywhere you like.
Step 4: Sign In
Sign in to the extension. If you do not have a user please Sign Up first.
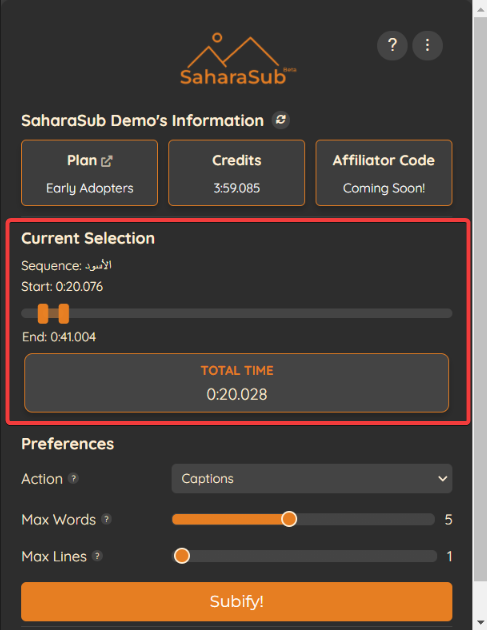
Step 5: Optionally, Choose the Work Area (After Effects) or Sequence In/Out points (Premiere Pro)
In Adobe Premiere Pro: Mark the IN and OUT points in your sequence (see how). The SaharaSub Extension will show you the total time and appropriate Start and End times. If no IN/OUT points are chosen, subtitles will be generated from the beginning and end accordingly.
In Adobe After Effects: Set the Work Area to define the Start and End points for subtitles (see how). The SaharaSub Extension will calculate the duration based on the selected Work Area. If no Work Area is defined, subtitles will be generated for the entire composition.
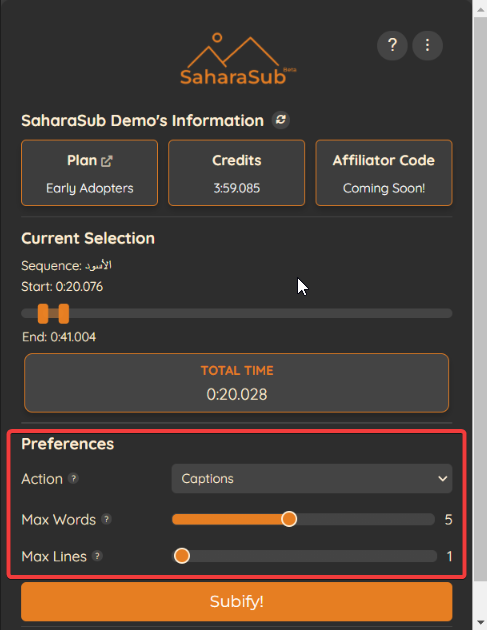
Step 6: Customize the Max Words and the Max Lines
Customize the preferences:
Max Words: Sets the maximum number of words per line
Max Lines: Sets the maximum number of lines
Step 7: Validate
Validate your preferences and the Current Selection.
Step 8: Generate Captions
With SaharaSub, generating captions is as simple as clicking a button (Subify). Once processed, the captions will appear as a new layer in your timeline.
This action may take some time depending on our servers and congestion.