Step 1: Download and Open the Installer
Download the SaharaSub .pkg file from our Downloads page and open it.
Step 2: Check the Installer
If the installer screen appears, you're good to go! Skip the rest of this guide and follow the instructions on the installer. In just a few moments, you'll be able to start using SaharaSub.
If you see the following warning instead:

Don't worry! This happens because the installer is not yet signed with Apple. Rest assured, the installer only installs SaharaSub and nothing else. We're actively working on verifying this with Apple. Continue following this guide to proceed.
Step 3: Open System Settings
Open the System Settings app and navigate to Privacy & Security.
Step 4: Allow the Installer to Run
Scroll to the bottom of the Privacy & Security settings. You should see a message like this:
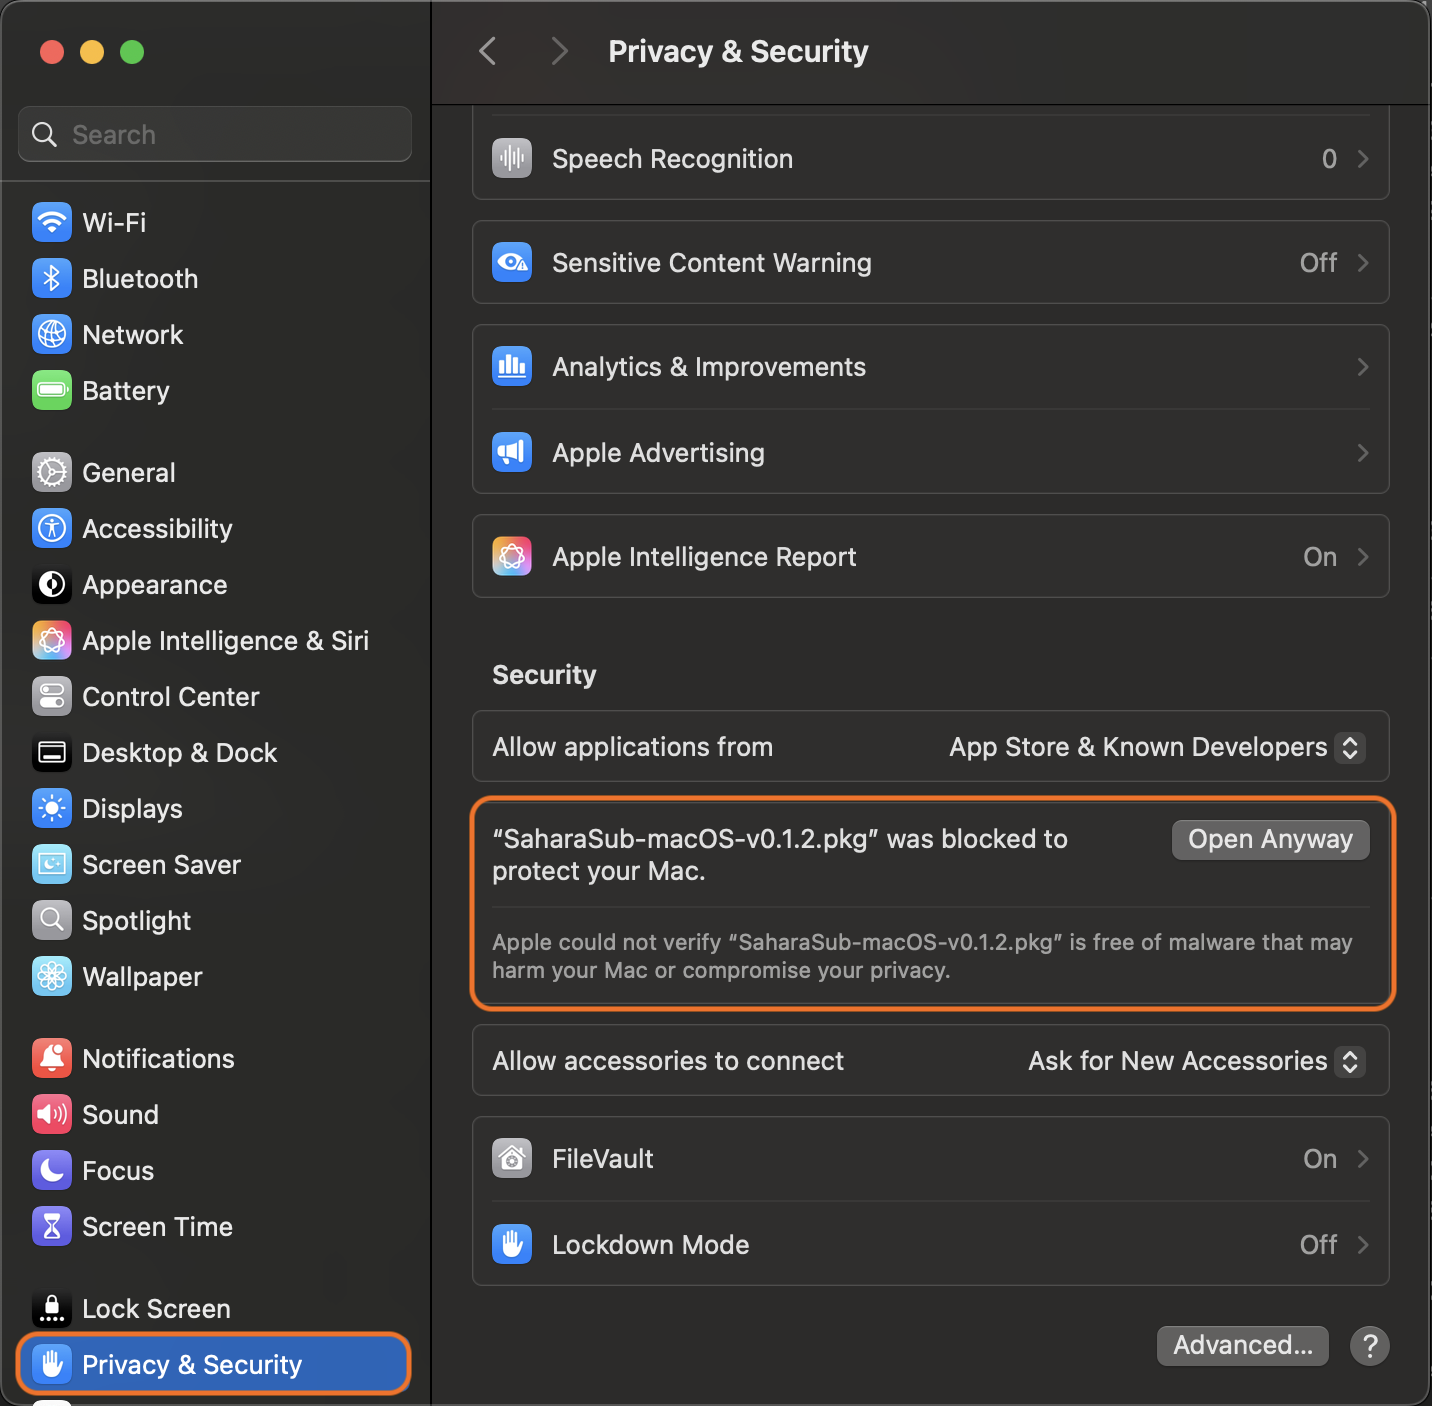
Click Open Anyway.
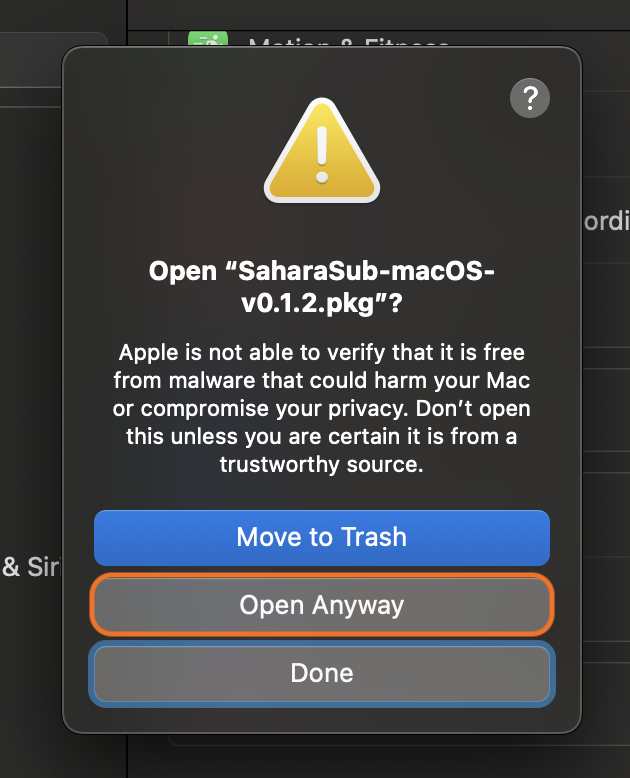
Step 5: Confirm Opening the Installer
On the prompt that appears, click Open Anyway again.
Step 6: Enter Machine Credentials
macOS might ask you to enter your machine credentials. Enter your password or use Touch ID to confirm. Once done, the installer will open, and you're just a few moments away from using SaharaSub!